Dart Flyscreens
Dart Marlin S3 Flyscreen for Triumph America & Speedmaster 2011 - Dark Tint
Dart Marlin S3 Flyscreen for Triumph America & Speedmaster 2011 - Dark Tint
Couldn't load pickup availability
High-Performance Dart Marlin S3 Flyscreen for Triumph America & Speedmaster 2011
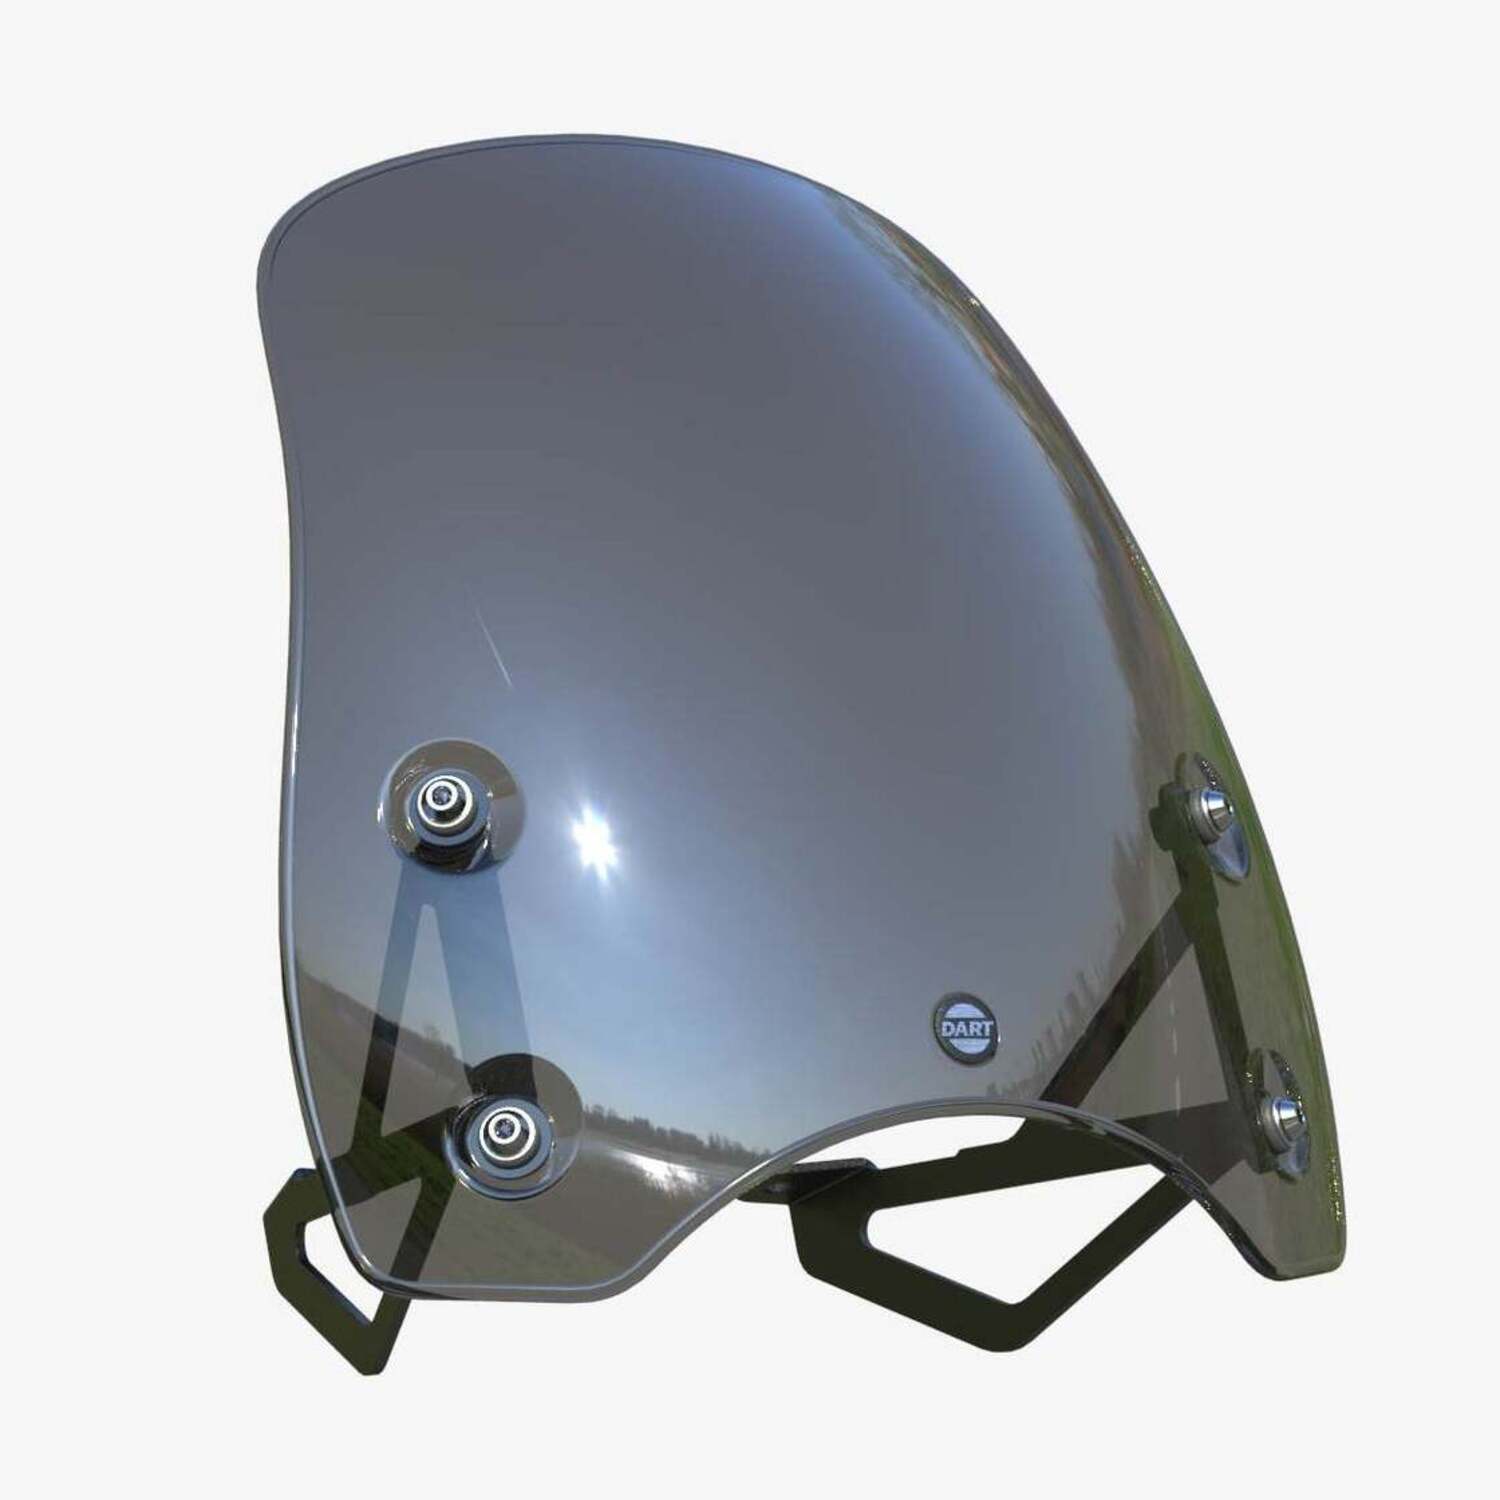
The Dart Marlin S3 Flyscreen is the perfect upgrade for your Triumph America or Speedmaster (2011 onwards), combining style and function. Known for their comfort and great road manners, these bikes deserve the added wind protection that the Dart flyscreen provides, especially at highway speeds, allowing for a more enjoyable and comfortable ride.
Made from 4mm high-impact polycarbonate, the flyscreen is tough and durable, with a Dartec II anti-scratch coating that keeps it clear and pristine even after long rides. Its sleek, minimalist design perfectly complements the classic styling of your bike.
With laser-cut aluminum brackets and stainless steel bolts, the flyscreen is easy to install and provides a secure, stylish fit. Upgrade your Triumph today with the Dart Marlin S3 Flyscreen for enhanced comfort and timeless style on every ride!
Key Features and Benefits
-
Durable Polycarbonate Screen: 4mm thick, high-impact material offers excellent wind protection and long-lasting durability.
-
Anti-Scratch Coating: Dartec II coating ensures the screen remains clear and scratch-free, even after extended use.
-
Precision Aluminum Mounting Brackets: Laser-cut, CNC-folded brackets provide a secure and stylish fit that complements your bike’s design.
-
Easy Installation: Comes with custom stainless steel bolts for quick, secure attachment.
- Sleek, Minimalist Design: Enhances the classic look of your Triumph America or Speedmaster without overpowering its style.
Product Details
- Injection-molded screen in 4mm thick high-impact automotive-grade polycarbonate
- Marlin S3 Dimensions: 280mm (11”) wide x 320mm (12.5”) tall
- Dartec II anti-scratch hard-coating for extended life
- Mounting brackets in laser-cut aluminum, CNC-folded and powder-coated in black textured finish
- Custom EPDM grommets to absorb vibration
- Custom stainless steel screen mounting bolts with grommet ring and positive stop
- Microfiber cleaning cloth
Compatibility
- Two models: one for Triumph America (all models) and Triumph Speedmaster from 2011. These bikes both have the large 8" headlight. The other is for the Speedmaster 2012-2017 with the smaller headlight.
What's Included
- 1 X Polycarbonate Screen
- 4 X EPDM Rubber Grommets
- 1 X Left Hand Mounting Bracket
- 1 X Right Hand Mounting Bracket
- 4 X Stainless Hex Head Machine Screws
- 4 X Washers
Install Guide
- Fit the grommets to the screen - this is best achieved from the back of the screen blade.
- Using a 12mm socket or spanner, slightly loosen the bolt that secures the headlight to the bottom yoke (ie the bolt under the yoke, not the headlight height adjustment bolt).
- Now remove the two 12mm bolts that hold the wire cable retainer to the top yoke. These are fiddly and difficult to get to - patience is needed! To give a little more clearance, you can move the headlamp to the side. A small ratchet wrench helps, too.
- Fit the screen brackets to the yoke, then fit the wire cable retainer under these brackets, and refit the bolts. Note that the screen brackets must fit directly onto the yoke! Tighten the bolts (even more fiddly now the brackets are in the way), but not fully.
- With both brackets fixed, hold the screen blade in position and loosely fit the four hexagon head machine screws with their washers, ensuring that they engage in the captive nuts on the brackets. Do not tighten these yet. There will probably be a small amount of tension from the wire retainer, which should sit in the shallow recess in the brackets. If there is a lot of tension, double-check that the wire part is sitting correctly on its bolts - it can move when tightening.
- Sit on the bike and make sure the screen is central; this is achieved by eye, lining it up with the speedometer and the centreline of the bike. You should line up the headlamp too, so that everything looks right. When this is the case, tighten up the headlamp bolt and the screen brackets. Once everything is in position, gradually tighten all the screws evenly until they are seated on the brackets.
- Double-check that everything is sufficiently tight and if so, fitting is now complete!
